This page explains how to create a playlist, add content to it, and change its settings. A playlist holds the content a screen plays, in the order and for the time you set.
Playlist types
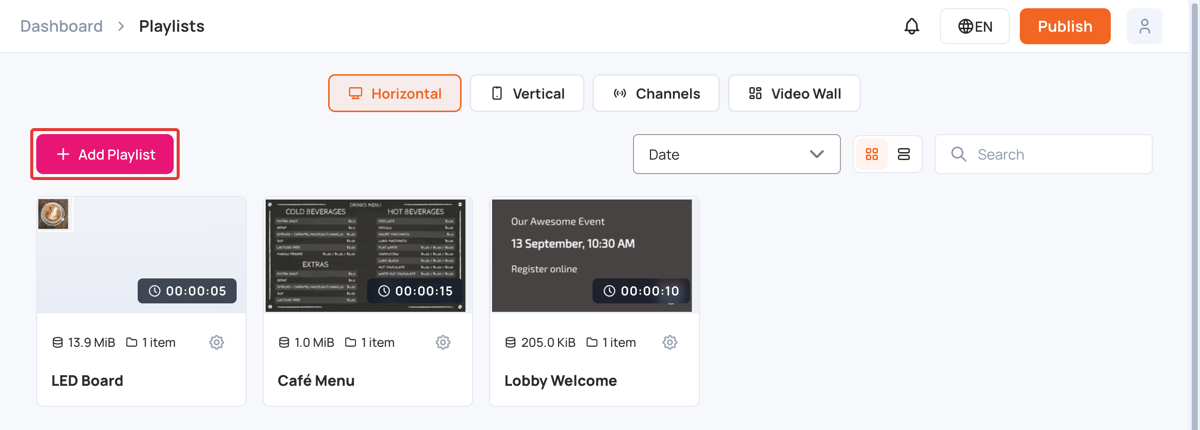
In the left sidebar, select Playlists. The tabs at the top show each type of playlist:
- Horizontal: for landscape screens.
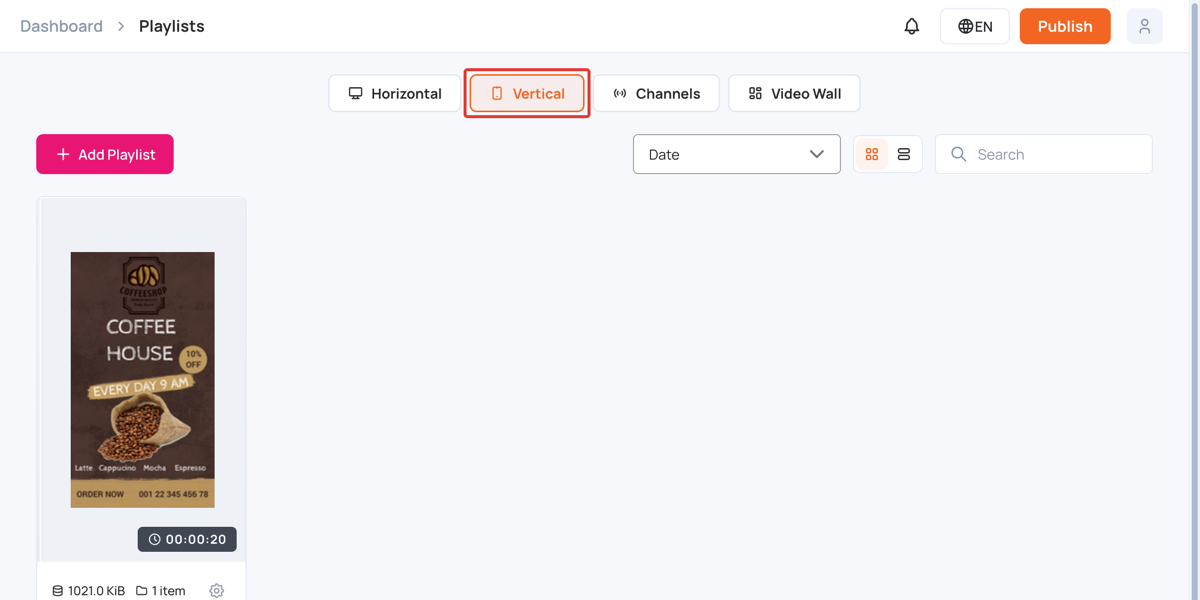
- Vertical: for portrait screens.
- Channels: a list of playlists played one after another. See Channels.
- Video Wall: for video walls.
Use the Date menu to sort the list, the grid and list buttons to change the view, and Search to find a playlist by name.
Add a playlist
- In the left sidebar, select Playlists, then open the Horizontal or Vertical tab.
- Click Add Playlist.
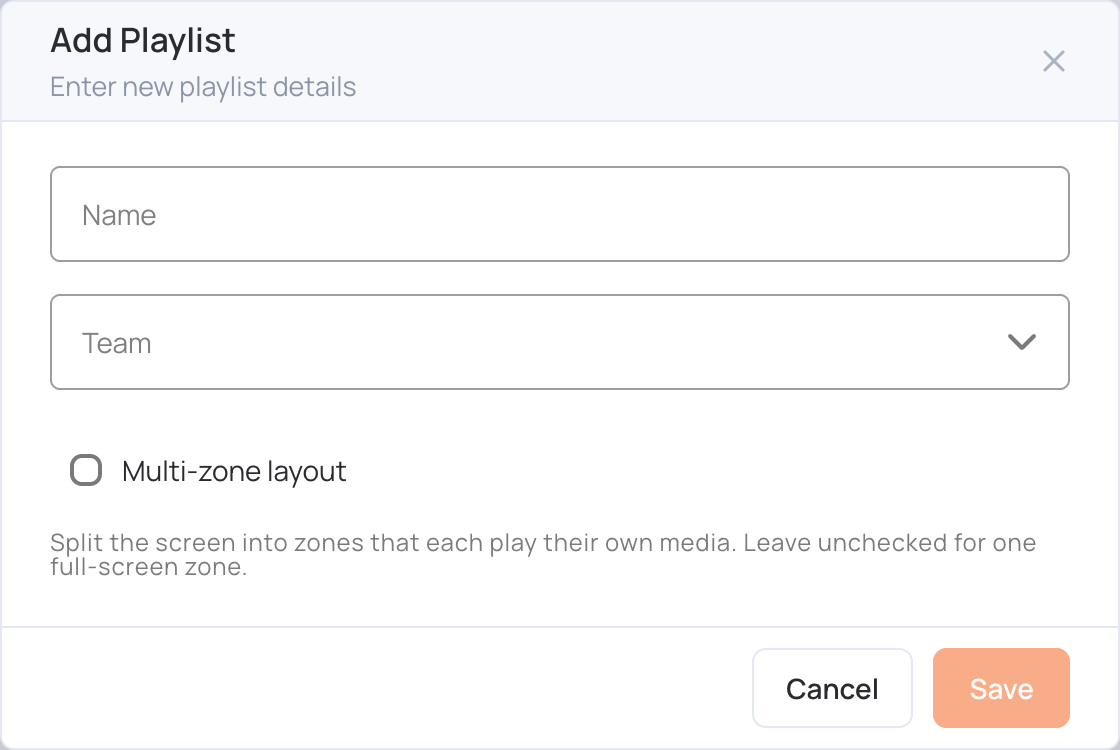
- Enter a Name.
- Optionally, choose a Team to limit who can see the playlist. Teams must be created first; see Teams.
- Leave Multi-zone layout unticked for one full-screen layer, or tick it to split the screen into several layers.
- Click Save.
- Without Multi-zone layout, the playlist opens straight into its full-screen layer and the content apps open: go to step 9.
- With Multi-zone layout, choose a layout in Choose Layout. The layout sets how the screen is divided into layers.
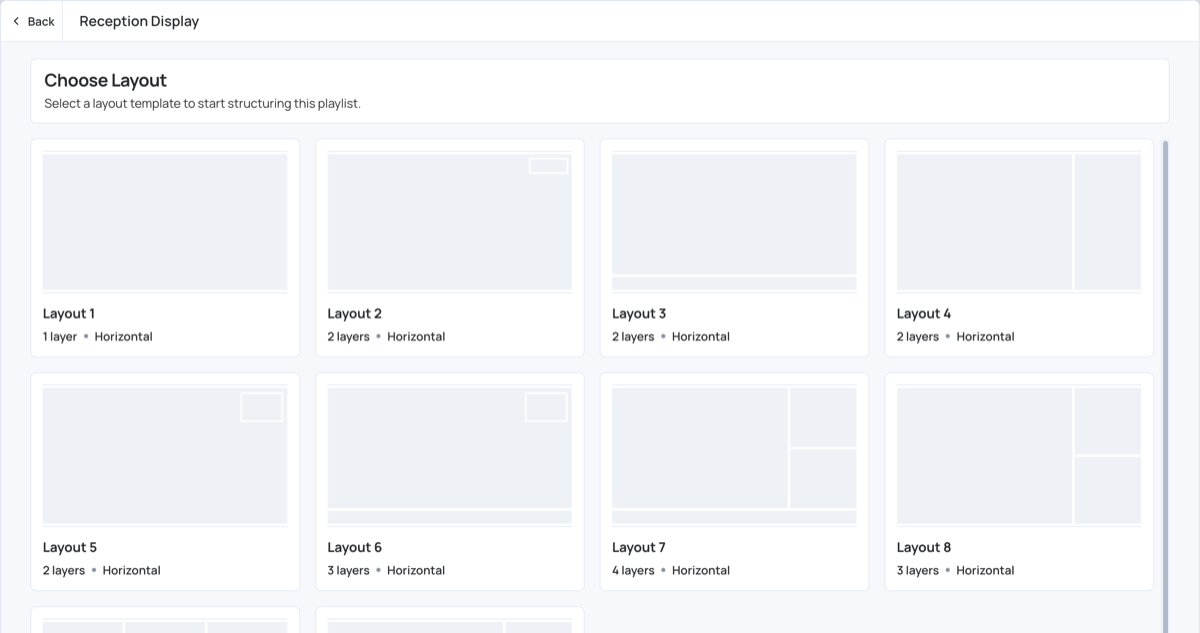
- Click a layer to add content to it. For a layout with one layer, the content apps open straight away. Only apps that suit the layer’s size are listed.
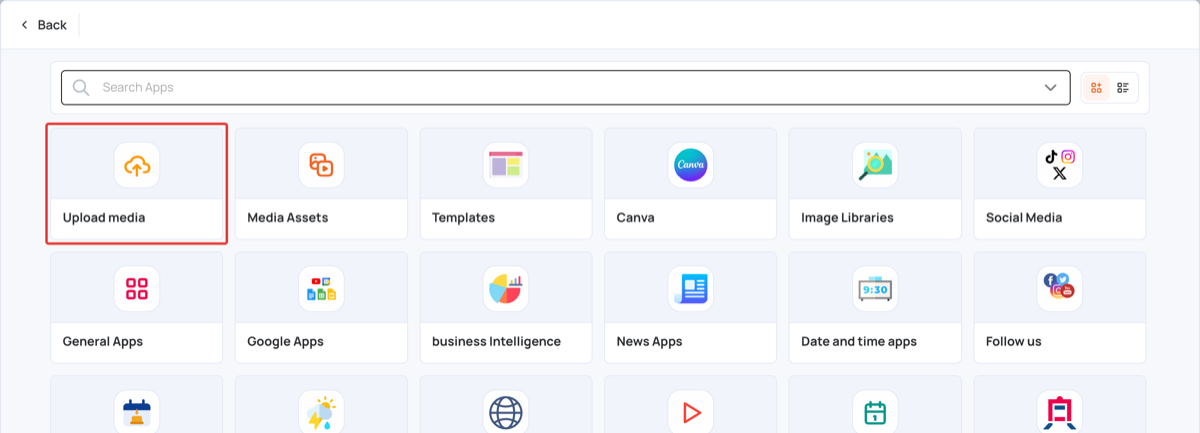
Example: upload images from your computer
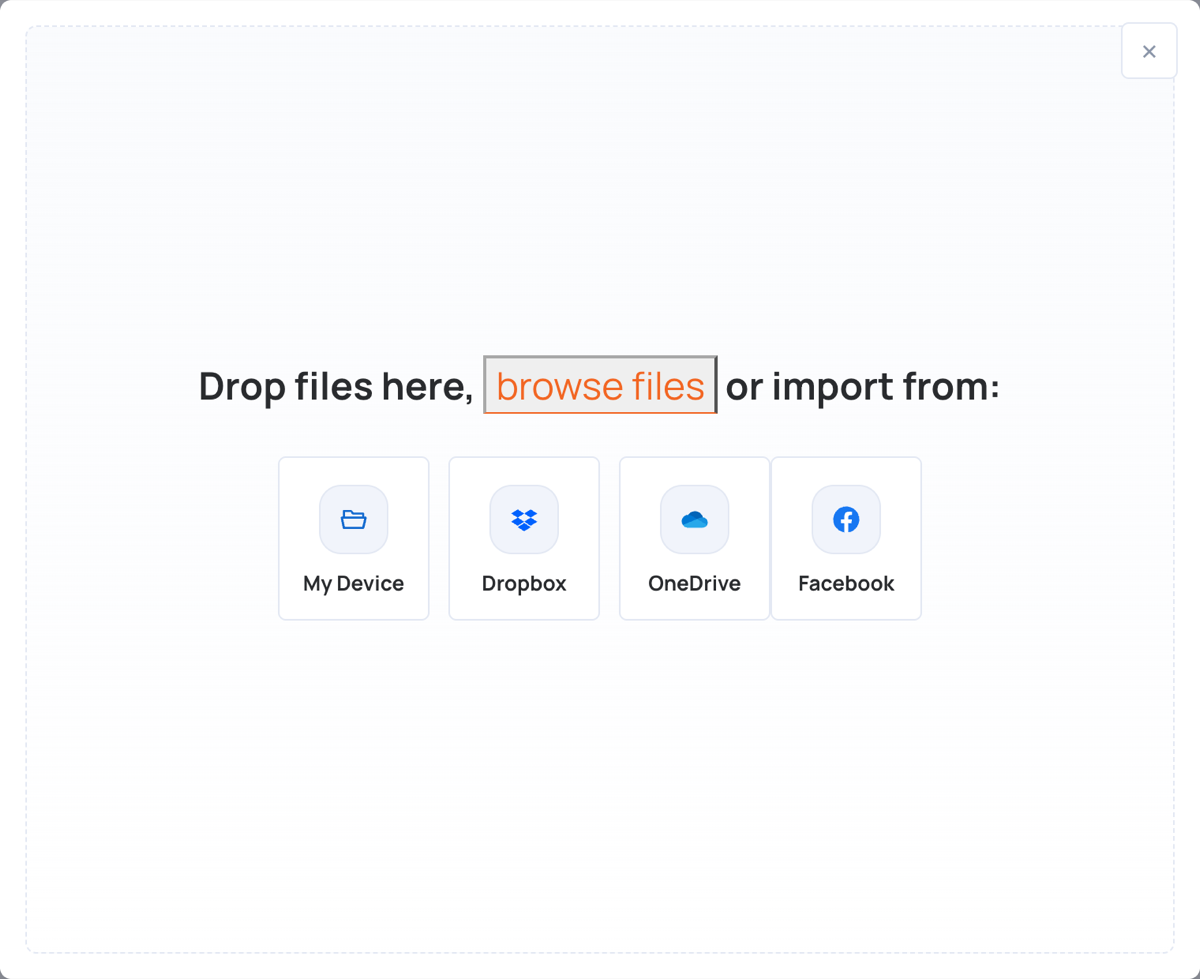
- In the content apps, click Upload media.
- Click My Device (or drag files onto the window). You can also import from Dropbox, OneDrive or Facebook.
- Select the files and wait for the upload to finish.
- The files are added to the layer.
Assign to screens
You can choose which screens play a playlist from inside the playlist, instead of setting each screen’s content from Screens.
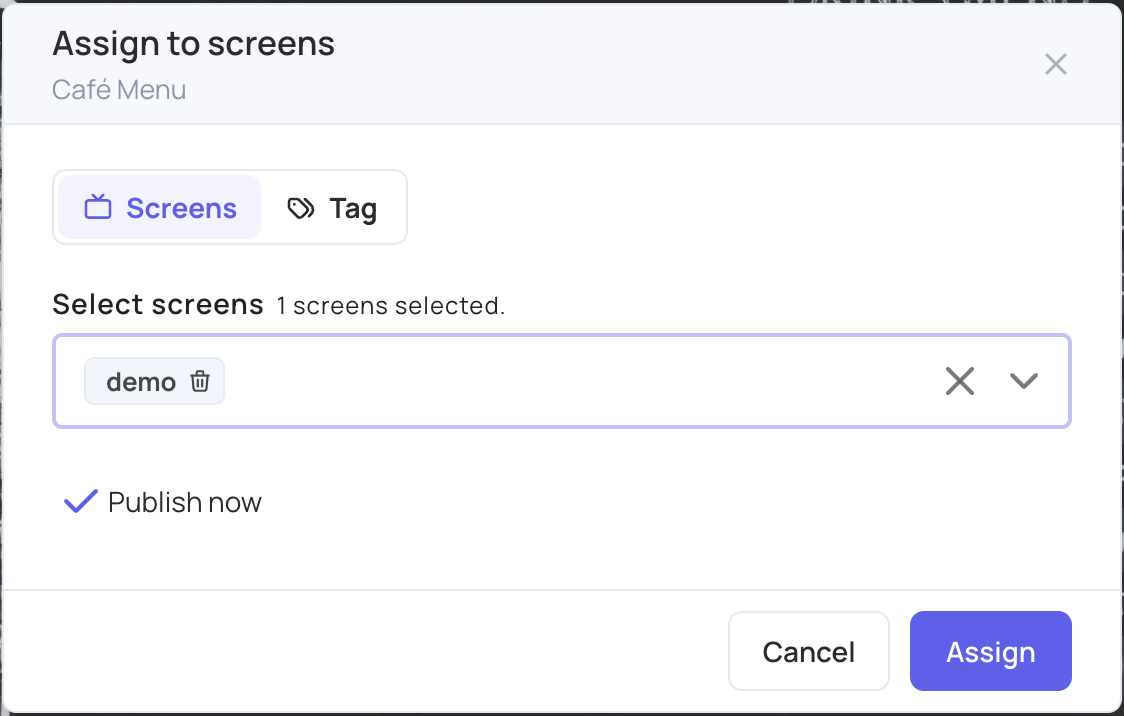
- Click Assign to screens at the top of the playlist.
- Choose how to pick the screens:
- Screens: choose one or more screens in Select screens. Only screens with the same orientation as the playlist (horizontal or vertical) are listed.
- Tag: choose a tag. Every screen with that tag gets the playlist, and the window shows how many screens carry it. The tag must match exactly, including capital letters.
- Leave Publish now ticked to send the playlist to the screens straight away, or untick it to publish later.
- Click Assign. The message “Playlist assigned to {count} screens.” confirms it.
- Assigning replaces what the screens were playing, including a channel or a schedule.
- With Tag, screens are matched by the tag only, whatever their orientation. Make sure the tag is only on screens with the playlist’s orientation.
- If some screens can’t be assigned, the message says how many.
To set a screen’s content from the screen instead, see Set screen content.
Publish your changes
Changes to a playlist reach your screens only when you publish. Click Publish changes of this playlist at the top of the playlist. The message “Changes publishing done successfully” confirms it.
Important: This button publishes only to screens whose content is set directly to this playlist. Screens that play the playlist through a channel or a schedule aren’t updated. To update them, click Publish at the top of the page, which publishes all your screens, or publish those screens from Screens. See Publish to selected screens.
If no screen is set directly to the playlist, the CMS says “No screen plays this playlist directly. Use Publish at the top of the page to update screens playing it through a channel, group or schedule.”
Who can assign and publish
The team’s Screens permission decides who gets these buttons. Set it in User Management > Teams:
- Assign to screens is hidden for teams with Readonly ticked.
- Publish changes of this playlist is hidden for teams without Publish, and for teams with Restrict by tags. Without Publish, Publish now in Assign to screens is greyed out too.
- To stop a team from assigning and publishing, tick Readonly and untick Publish. To let it assign but not publish, untick Publish only.
Administrators can always assign and publish. See Teams.
Vertical playlists
To create a playlist for a portrait screen, open the Vertical tab and follow the same steps. Use content designed for vertical screens. Templates and apps such as weather are already sized for vertical screens when you add them.
Playlist settings
- In the left sidebar, select Playlists.
- On the playlist, click the settings (gear) icon.
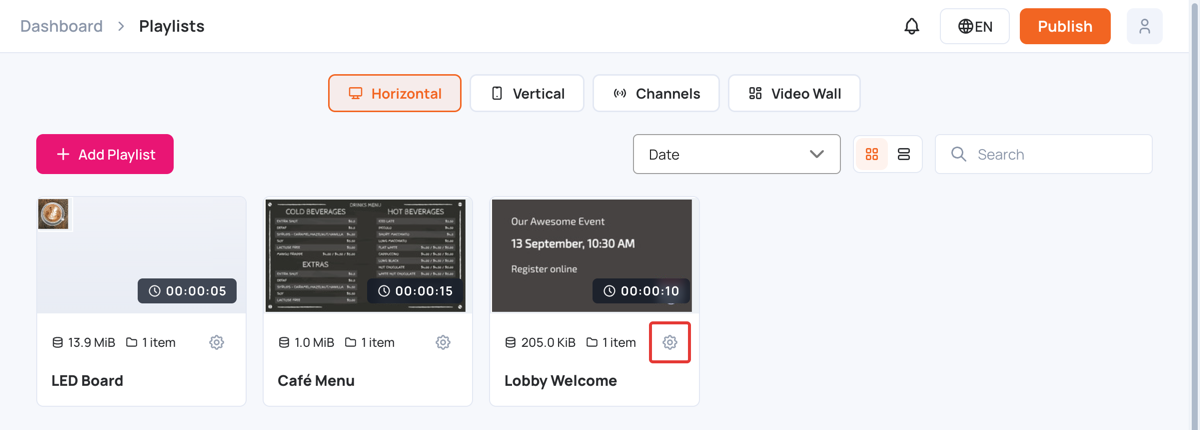
The Playlist Settings panel opens.
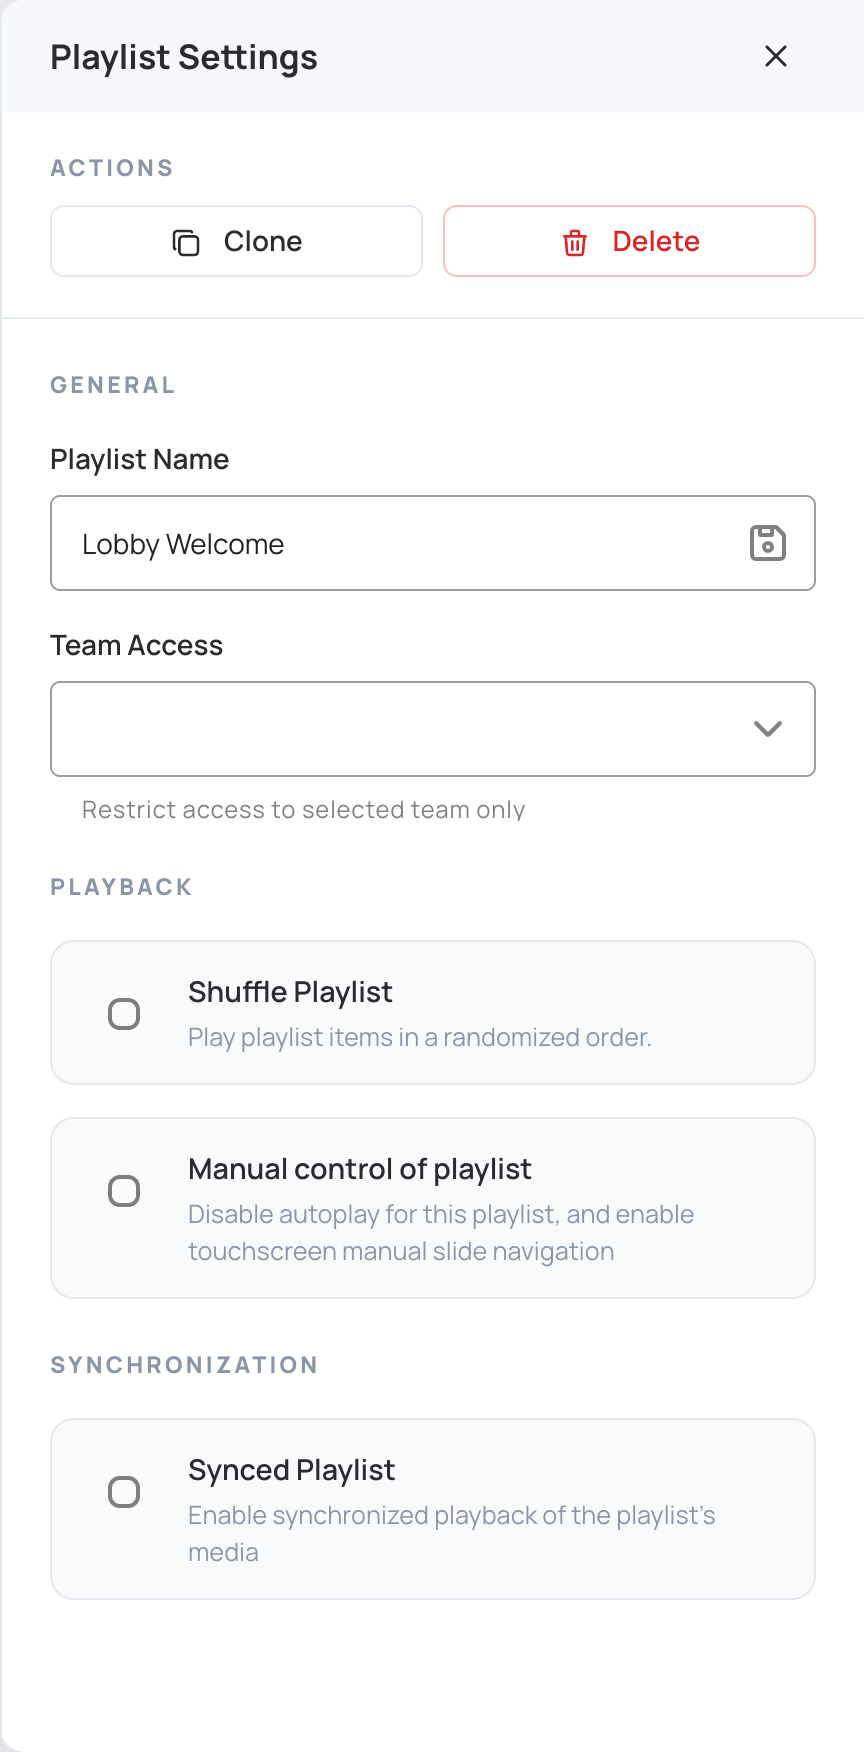
- Clone: copies the playlist with all its content and settings. The copy appears in the playlist list.
- Delete: deletes the playlist. Click Yes to confirm.
- Playlist Name: type the new name, then click the save icon.
- Team Access: limits the playlist to the selected teams. Only users with full access see this option.
- Shuffle Playlist: plays the playlist items in a random order. It can’t be used when Synced Playlist is on.
- Manual control of playlist: turns off autoplay and lets viewers move between slides on a touchscreen. See Touch Screen Features.
- Synced Playlist: plays the same media at the same time on all screens that use this playlist. If the playlist has more than one layer, only the last layer (last from top to base) is synced. This is meant for syncing a background layer across screens.
The transition is set on each layer, not on the playlist. See Layer’s Transition to change one layer, or Default Transition to set the transition every new layer starts with.
To close the panel, click X.