Configure each media item in a playlist: its name, whether it is sent to screens, stretch to fit, duration, playback times and quota, tags, audience targeting and proof of play. You can also clone or delete the item.
Open Media Settings
- Open the playlist and click the layer.
- In the media list, click Edit next to the item.
The Media Settings panel opens.
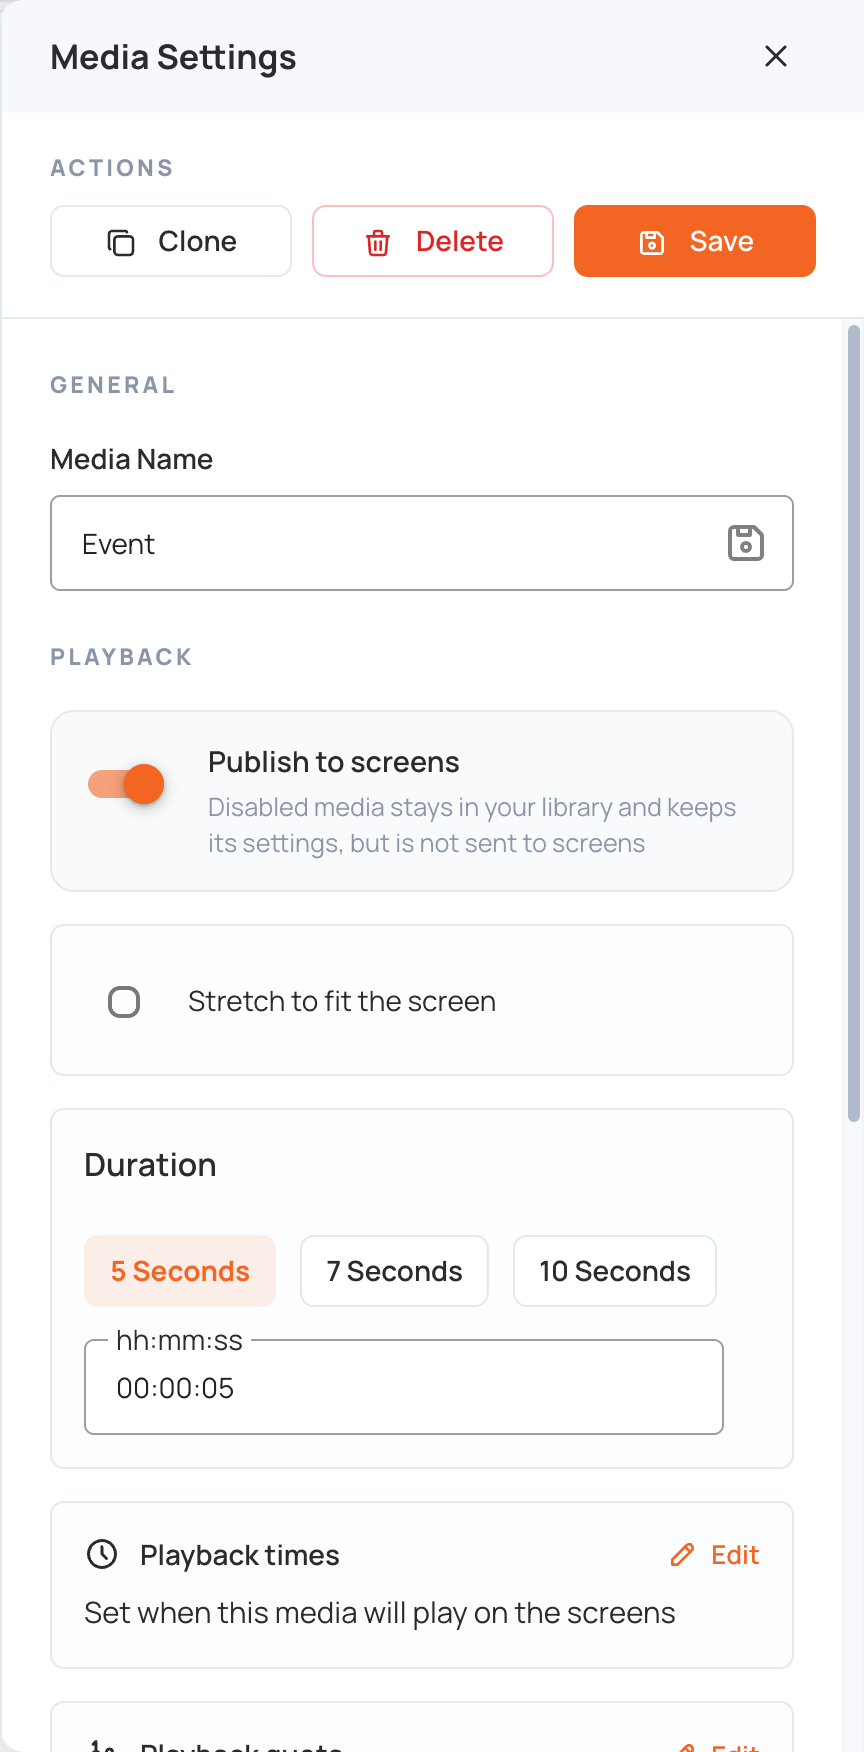
Media Settings
- Clone: copies the media item with all its settings.
- Delete: removes the media item from the layer.
- Save: saves your changes.
- Media Name: the name is also used in proof of play statistics. Type a name, then click the save icon.
- Publish to screens: turn this off to stop sending the item to screens. A disabled item stays in your library and keeps its settings.
- Stretch to fit the screen: select this to make an image or video fill the whole layer, without keeping its width-to-height ratio. Leave it cleared to keep the original proportions.
- Duration: how long the item plays. Click 5 Seconds, 7 Seconds or 10 Seconds, or type a value in hh:mm:ss. For example, 00:00:05 is 5 seconds.
- Optimize video (videos only): gives smoother playback and reduces the file size by up to 60% without losing quality.
To close the panel, click X.
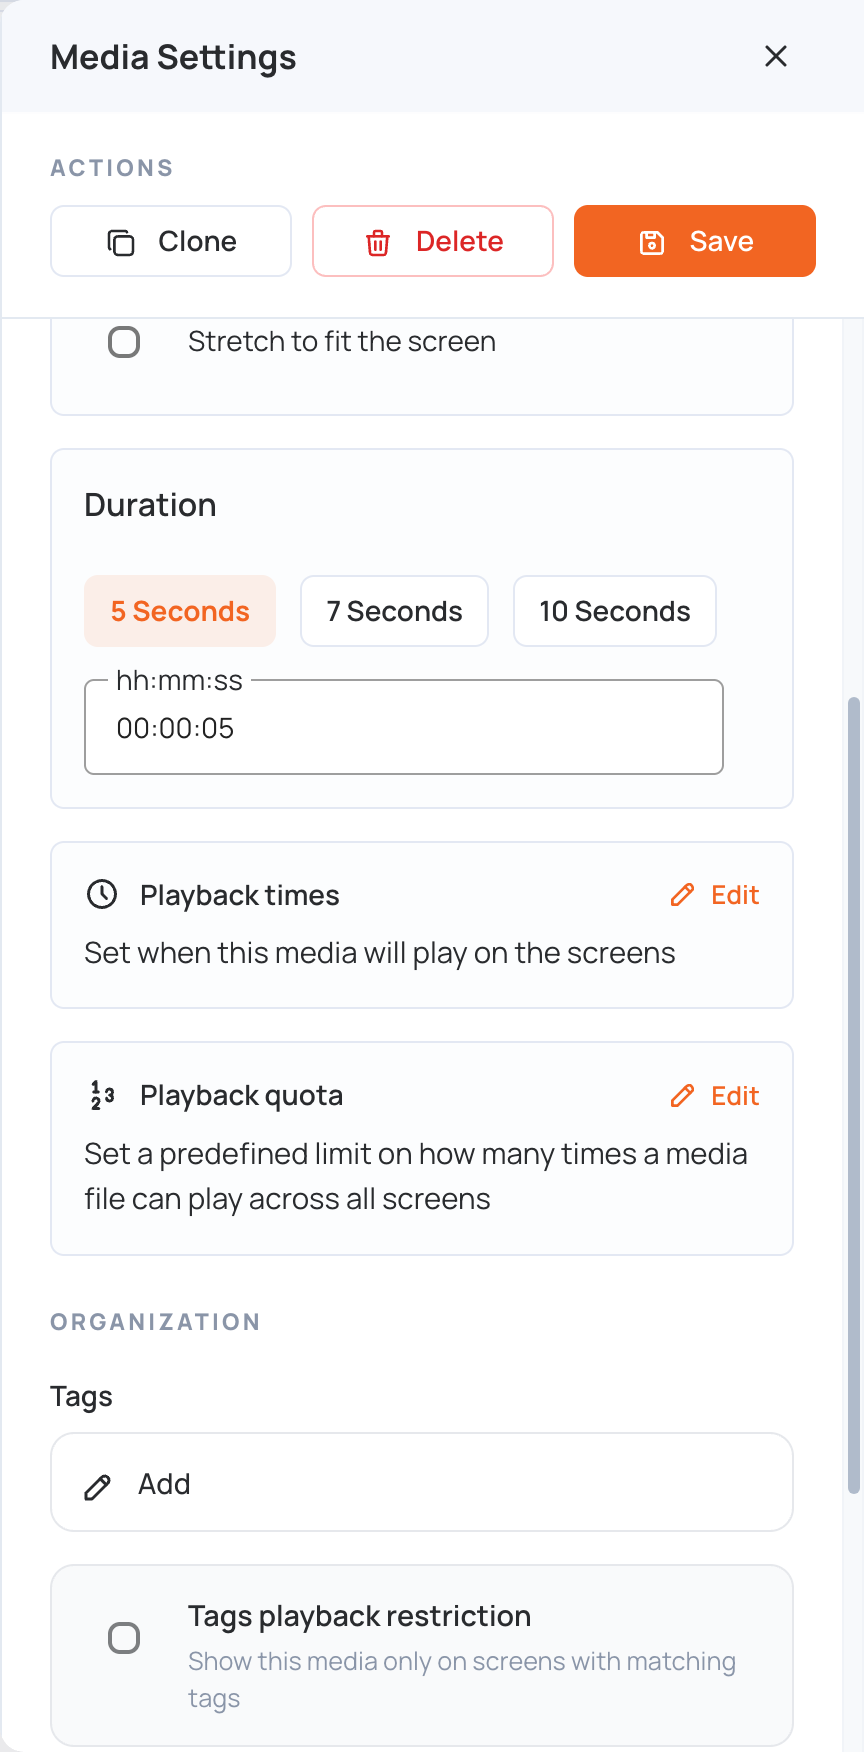
Playback Times
Click Edit next to Playback times to set a date and time range, or a weekly schedule, so the item starts and stops playing on its own.
Read more on Playback Times.
Playback Quota
Click Edit next to Playback quota to limit how many times the item can play across all screens. This is useful for ad campaigns and for controlling how often content appears.
Read more on Playback Quota.
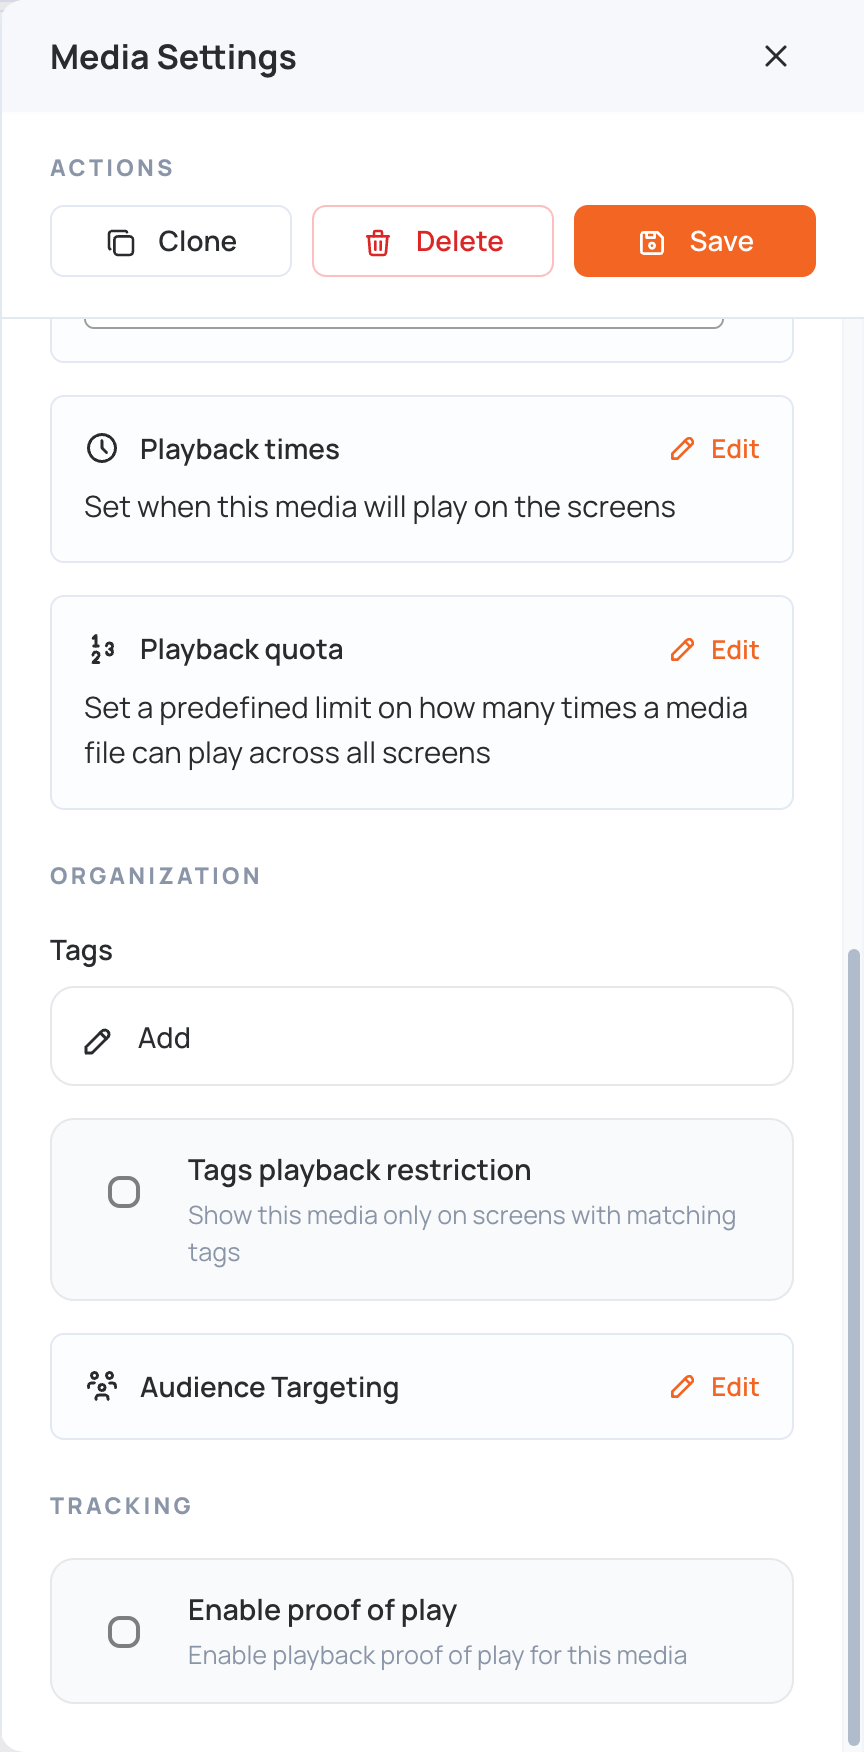
Tags
With tags, you can limit items in the same playlist to play on specific screens only.
- Under Tags, click Add, add your tags, then click Save.
- Select Tags playback restriction to show the item only on screens with matching tags.
Read more on Tags.
Audience Targeting
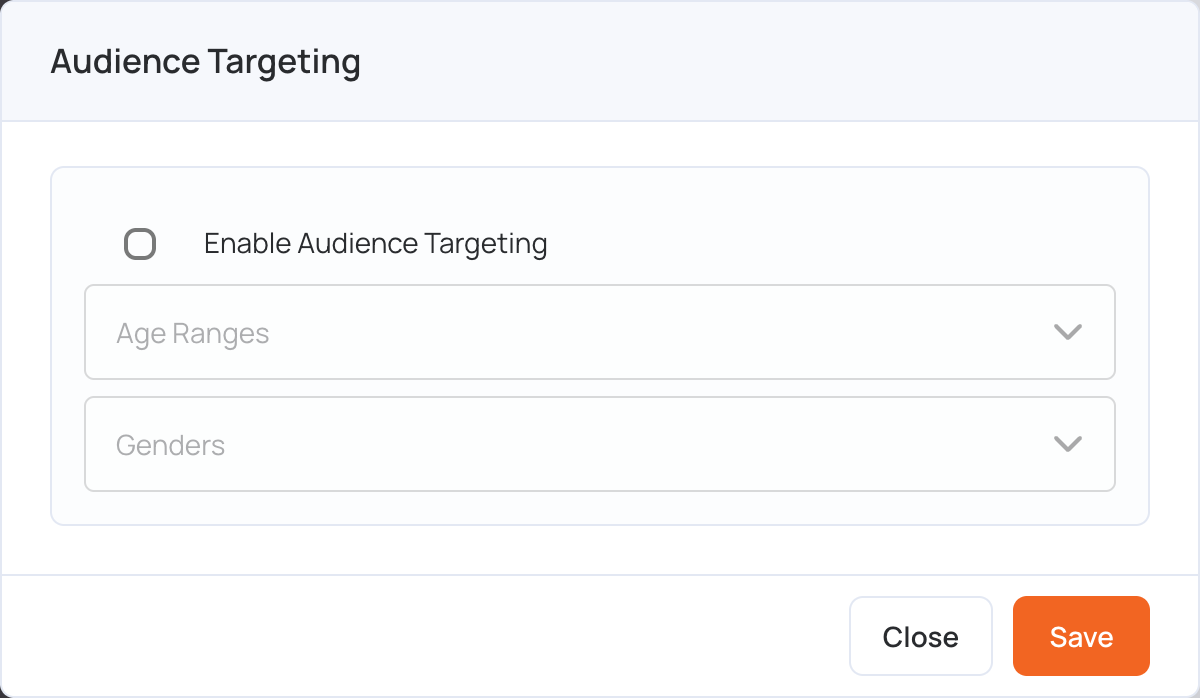
Audience targeting shows the item only when the detected viewer matches the age group or gender you choose. It is only available on some accounts.
- Click Edit next to Audience Targeting.
- Select Enable Audience Targeting.
- Choose the Age Ranges and Genders.
- Click Save.
Proof of Play
Select Enable proof of play to collect playback statistics each time this item plays. See Proof of Play.
Click Back to return to the layout preview.