Geo-location changes what a screen plays based on where it is. You draw areas called zones on a map, put playlists in a channel, and restrict some of those playlists to a zone. A screen playing the channel then shows the playlists for the zone it is in.
Note: Zones are available when Geo-location is turned on for your account. Zones work on Android players; web players don’t switch playlists by zone.
How Playlists Are Chosen
The screen checks its GPS position every few seconds and compares it with the zones of the playlists in its channel:
- Inside one or more zones: it plays the playlists restricted to those zones, in channel order.
- Outside every zone: it plays the playlists that have no zone. Use them as your default content.
- Every playlist has a zone and none match: it plays the first playlist in the channel.
The screen only does this when Enable auto-update location using the device’s GPS is turned on for it (see Step 6). Otherwise it plays every playlist in the channel in turn.
How to Set Up Geo-location
Step 1: Turn on Location on the Device
Set up the Location Services on your digital signage device to permit precise location access. This setup enables the app to accurately identify and display your screens’ locations to monitor the digital signage network.
To configure the location services on your digital signage device, follow these steps:
1- Enable Location Services for the Device
To enable location services, grant the app permission for precise location on Android devices.
Open the device settings.
Go to Location Settings. (Scroll down and tap on Location)
Turn on Location Services. If Location is off, tap the switch to turn it on.

2- Enable Precise Location for an App
Open App Permissions:
- Go to Settings > Apps (or Apps and notifications, depending on your Android version).
- Find the app to which you want to grant location permissions and tap on it.
Open Permissions.
Allow Location Access:
- In the list of permissions, tap on Location.
- Choose Allow all the time or Allow only while using the app, depending on your app’s needs.
Enable Precise Location:
- Ensure that Use precise location is enabled (it allows the app to access GPS data). You will see a toggle next to “Use precise location”; ensure it’s turned on.

3- Check GPS Settings
High Accuracy Mode:
- Go back to Settings > Location.
- Tap on Location Mode or Advanced (depending on your Android version), and select High accuracy. This will use GPS, Wi-Fi, and mobile networks for location detection.

After setting up these steps, the app should be able to access GPS data from a precise location.
If the player app was refused location access, open the player’s settings menu on the screen and use Location Access to allow it.
After configuring the location services and permissions on your digital signage device, log in to the CMS Portal and follow the below steps:
Step 2: Draw Your Zones
A zone is an area on the map that one or more playlists in a channel are restricted to.
- Click Playlists in the menu on the left, open the Channels tab, then the Zones tab.
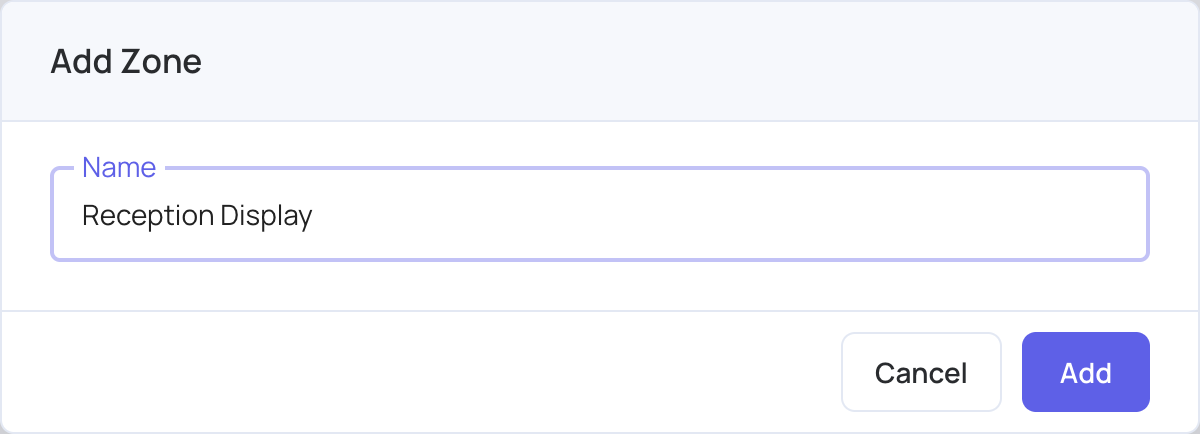
- Click Add Zone, enter a name (at least 3 characters) and click Add.
- Click Edit Zone next to the zone. The map opens.
- In Search Map, type a place and choose it from the list to move the map there.
- Click Draw geofence, then click on the map to place each corner of the area.
- Click Finish, or double-click, to close the shape. A zone needs at least 3 corners.
- To adjust the shape, drag its corners, or drag the small points on its sides to add corners. To start again, click Clear or Draw geofence.
- Click Save.
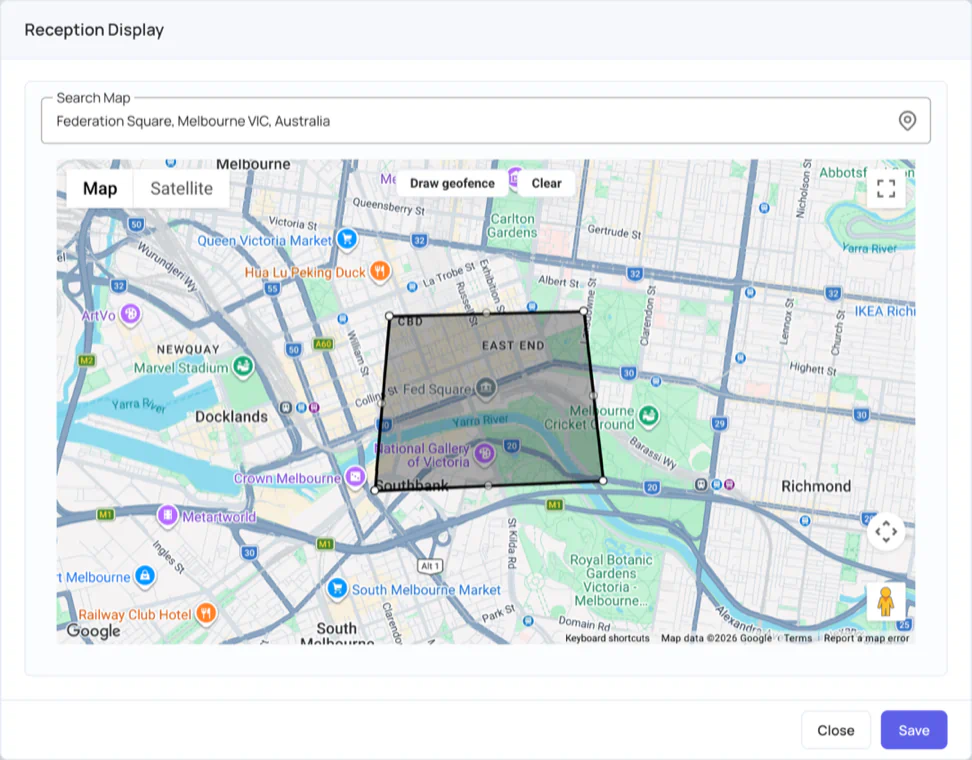
Each zone has one shape. Repeat for every area you need.

To rename a zone, click its name in the list. To delete it, click the delete icon and click Yes.
Step 3: Create a Channel of Playlists
Set up your playlists and create a channel for these playlists.
- Create the playlists you need, in the same orientation as your screens. See Playlists.
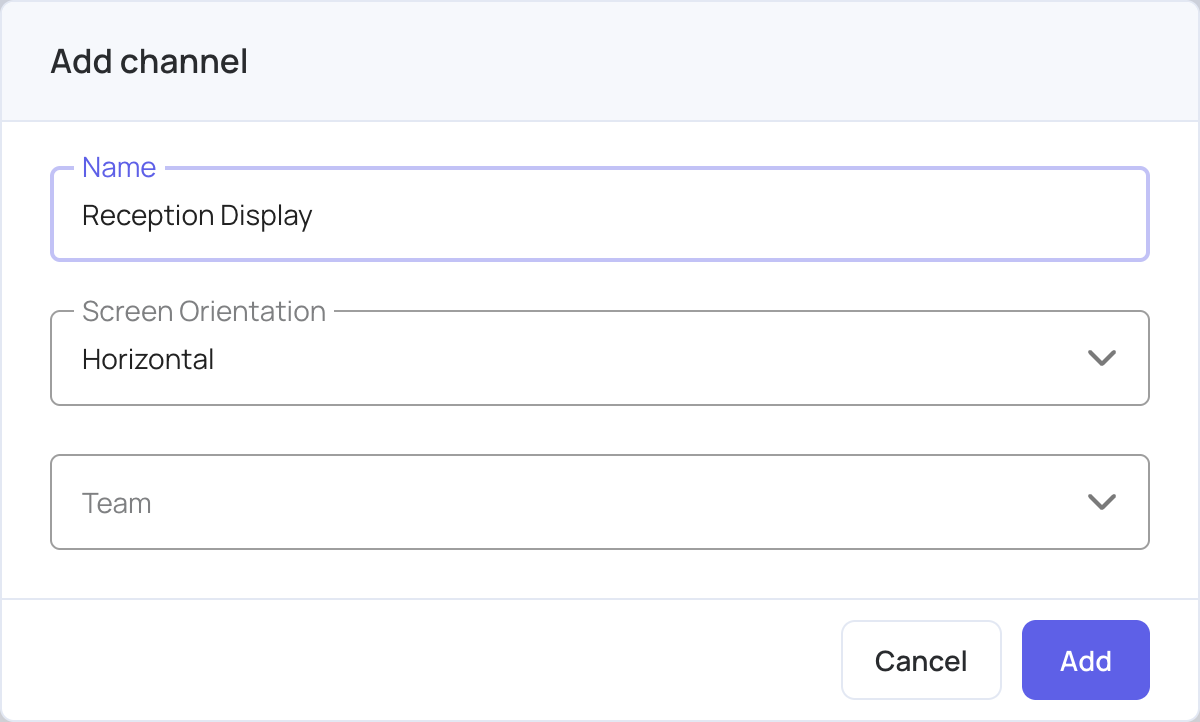
- In Playlists > Channels, click Add channel.
- Enter a Name, choose the Screen Orientation (Horizontal or Vertical) and, if needed, a Team. Click Add.
- Click the channel’s name to open it.
- Under Available playlists, click + next to each playlist to add it. Only playlists with the channel’s orientation are listed. Drag the playlists to change their order.
Changes in this window are saved straight away. See Channels.
Step 4: Restrict Playlists to Zones
Link each playlist under channels to its corresponding geographical zone so the content updates according to location.
- In the channel, click the location icon next to a playlist.
- Choose a zone. It is saved straight away and the window closes.
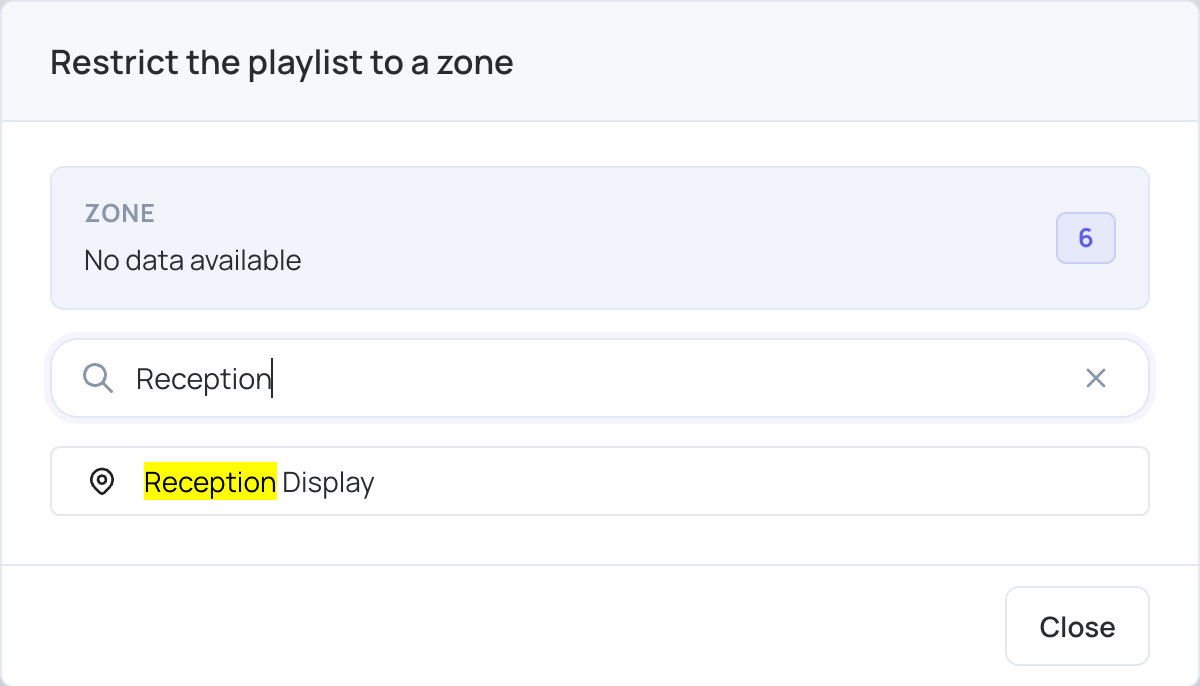
The playlist now shows its zone. A playlist can have one zone. Leave your default playlists without a zone.
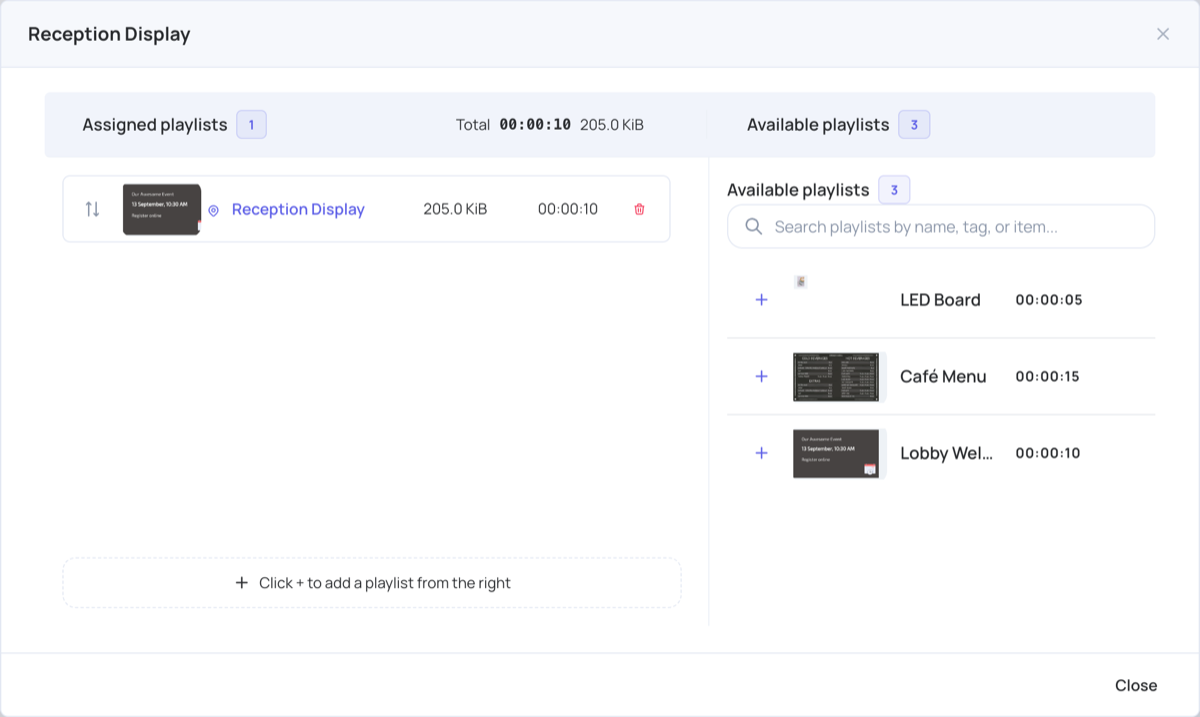
To take a zone off a playlist, remove the playlist from the channel and add it again.
Step 5: Assign the Channel to Your Screens
- Click Screens in the menu on the left.
- Click Set Screen Content next to the screen.
- Choose Channels, then the channel.
- Publish to send it to the screen. See Screens.
Step 6: Turn On GPS Location for the Screen
- On the Screens page, click Set Location (or the screen’s location) to open Screen Location.
- Tick Enable auto-update location using the device’s GPS. This option appears once the screen has a location.
- Click Update Location.
Now, you can see the locations of all your active screens, both online or offline, displayed on the map. This feature displays your screen’s live location in real-time, allowing you to see location changes instantly. When the screen moves within the defined zones, the content will automatically switch playlists, based on the defined geolocations.
Online screens are marked with green pins, while offline screens with red pins.
If the screen can’t read its location, the window says so: check the location permission on the device (Step 1). See Live Screen Location.